How to Clean and Condition Leather: A Step-by-Step Guide for Every Leather Type
Leather is skin. It needs the same things human skin needs: gentle cleansing, regular hydration, and protection from the elements. This is not a marketing pamphlet — it is the care routine we follow in our own atelier. Every step has been tested on the materials we handle daily.
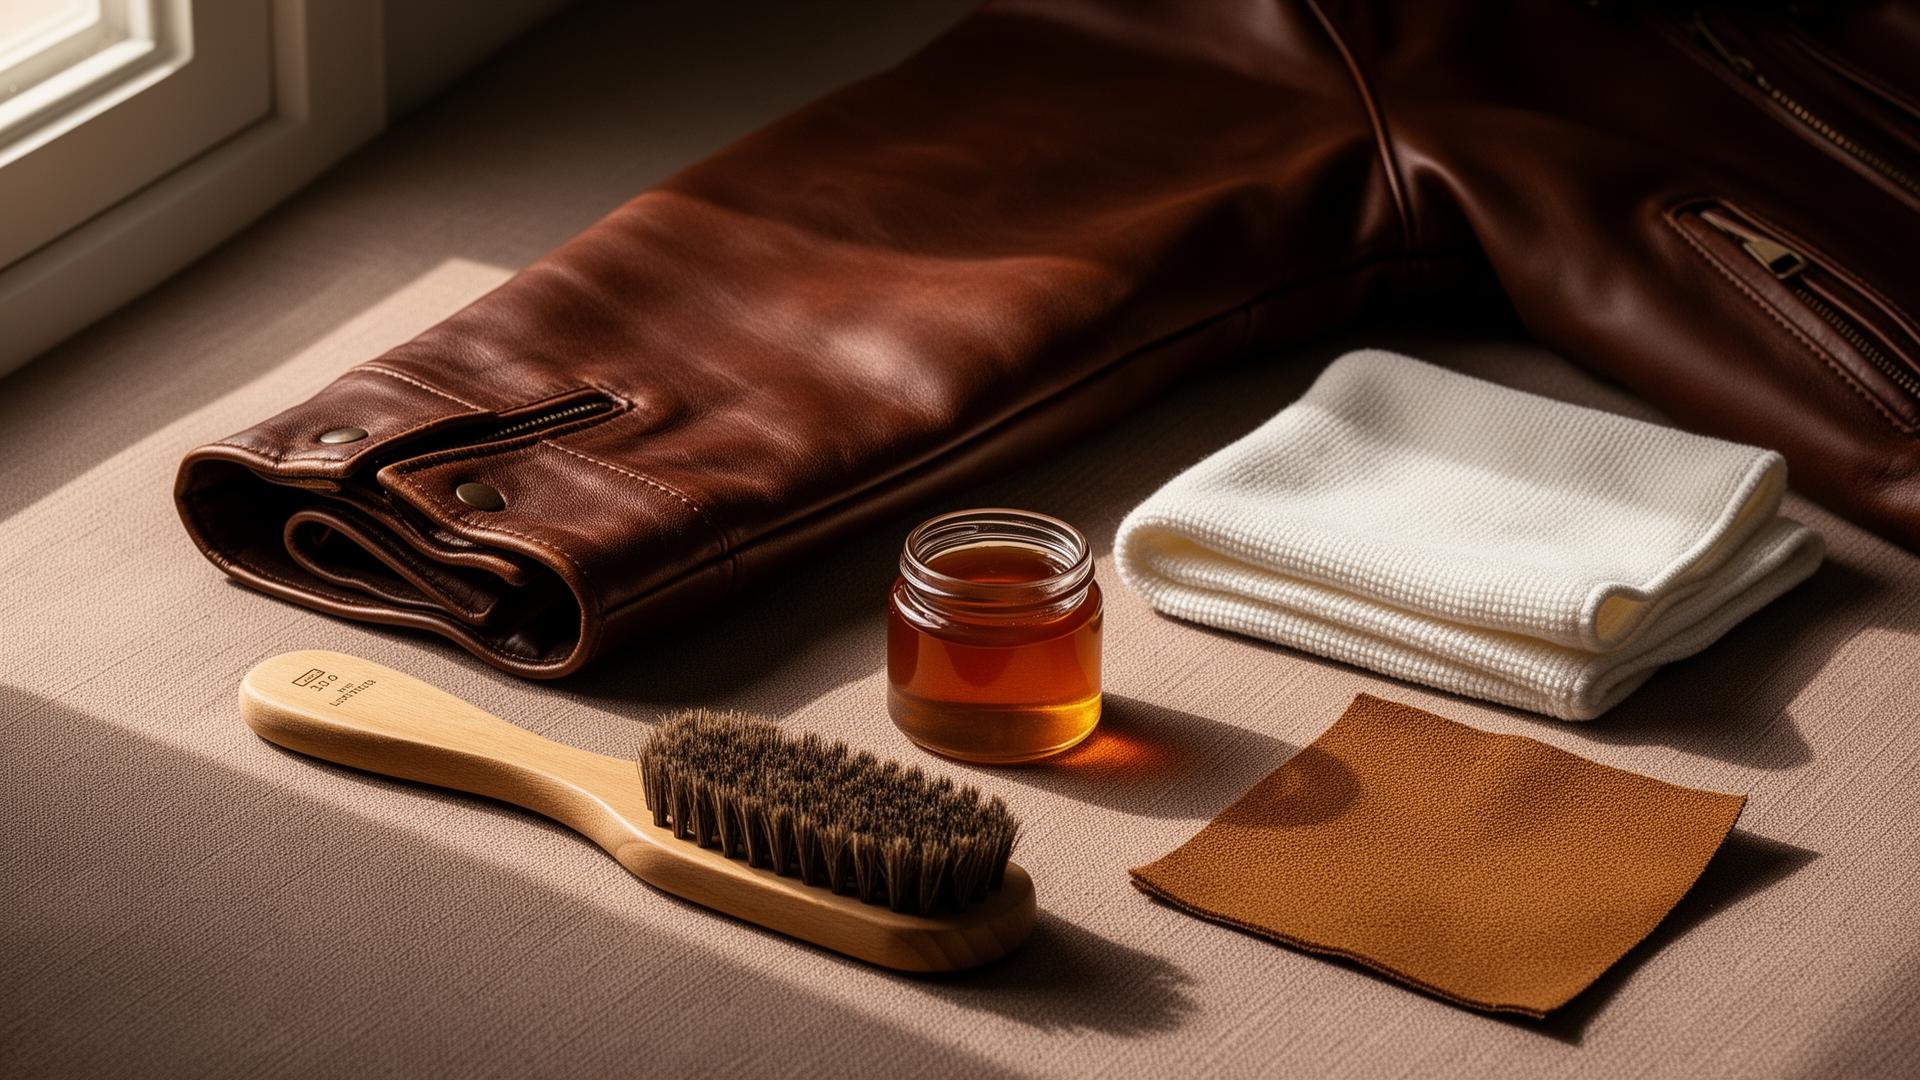
Step 1 — Gather your supplies
You need very little, and the right products matter more than the quantity. For smooth leather (cowhide, lambskin, goatskin): a soft microfibre cloth, a pH-balanced leather cleaner, a leather conditioner (lanolin-based or beeswax-based), and distilled water. For suede and nubuck: a suede brush (crepe rubber or brass bristle), a suede eraser, and a suede-specific waterproofing spray.
What to avoid: household cleaners, dish soap, baby wipes, vinegar, or alcohol-based solutions. These strip the natural oils from leather, accelerate drying, and can cause irreversible discolouration. Leather is not a kitchen counter — treat it accordingly.
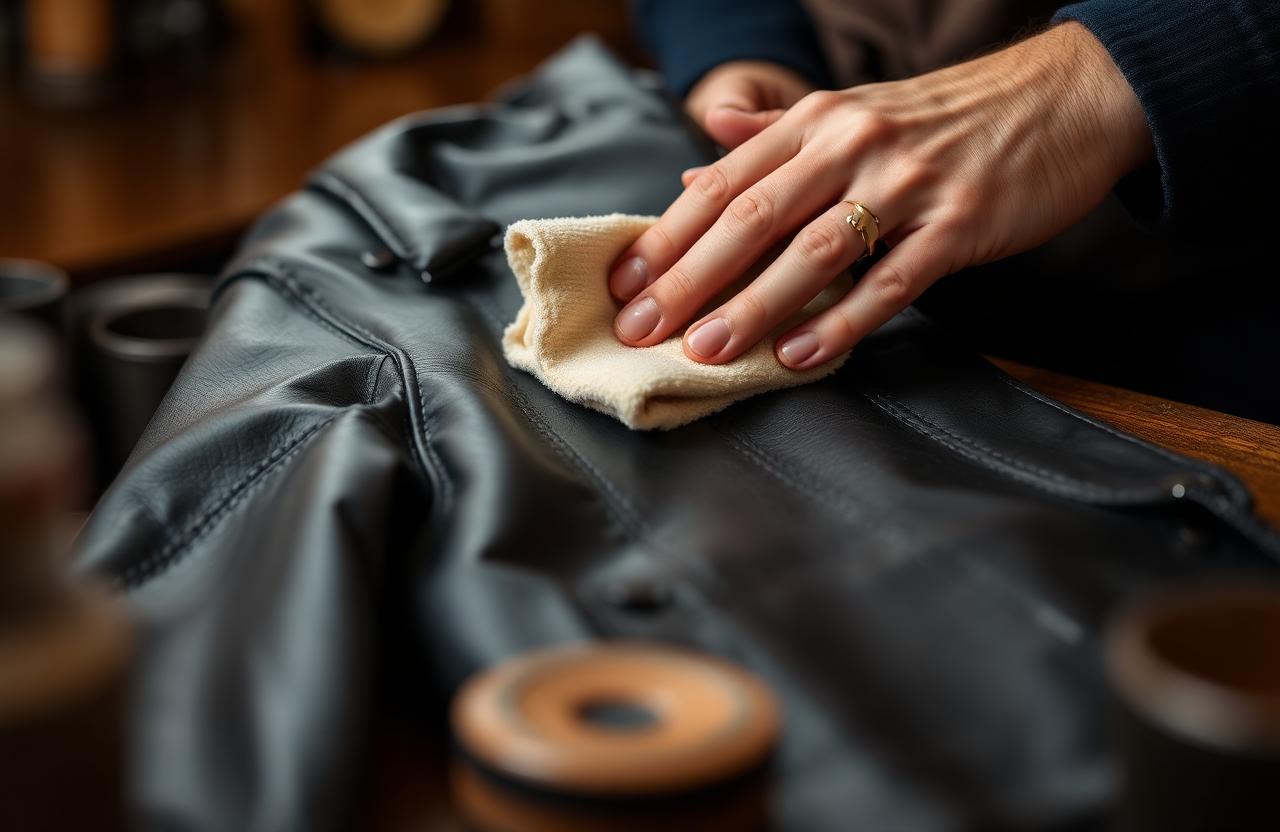
Step 2 — Dust and surface clean
Before any deep cleaning, remove surface dust and loose debris. For smooth leather, wipe the entire surface with a dry microfibre cloth, paying attention to seams, folds, and textured areas where grit accumulates. For suede, use a suede brush in short, one-directional strokes to lift the nap and dislodge surface dirt.
This step is the most underrated in leather care. Dust and grit are abrasive — left on the surface, they act like fine sandpaper every time the leather flexes or is handled, gradually wearing through the finish.
Step 3 — Clean with a leather-specific cleaner
Dampen a soft cloth with your leather cleaner — not wet, just barely damp. Work in small sections (about 30 cm square), using gentle circular motions. Do not scrub aggressively; let the cleaner do the work. Wipe each section with a clean, damp cloth to remove residue, then move to the next.
For suede and nubuck: do not use liquid cleaners on the main surface. Instead, use the suede eraser to gently rub away marks and stains. For stubborn spots, hold the suede over steam (from a kettle, at arm's length) to open the fibres, then brush with the suede brush while still warm.
For lined garments like jackets, flip the lining out and spot-clean with a mild fabric cleaner. Perspiration and body oils accumulate on the lining and can transfer to the leather over time if neglected.
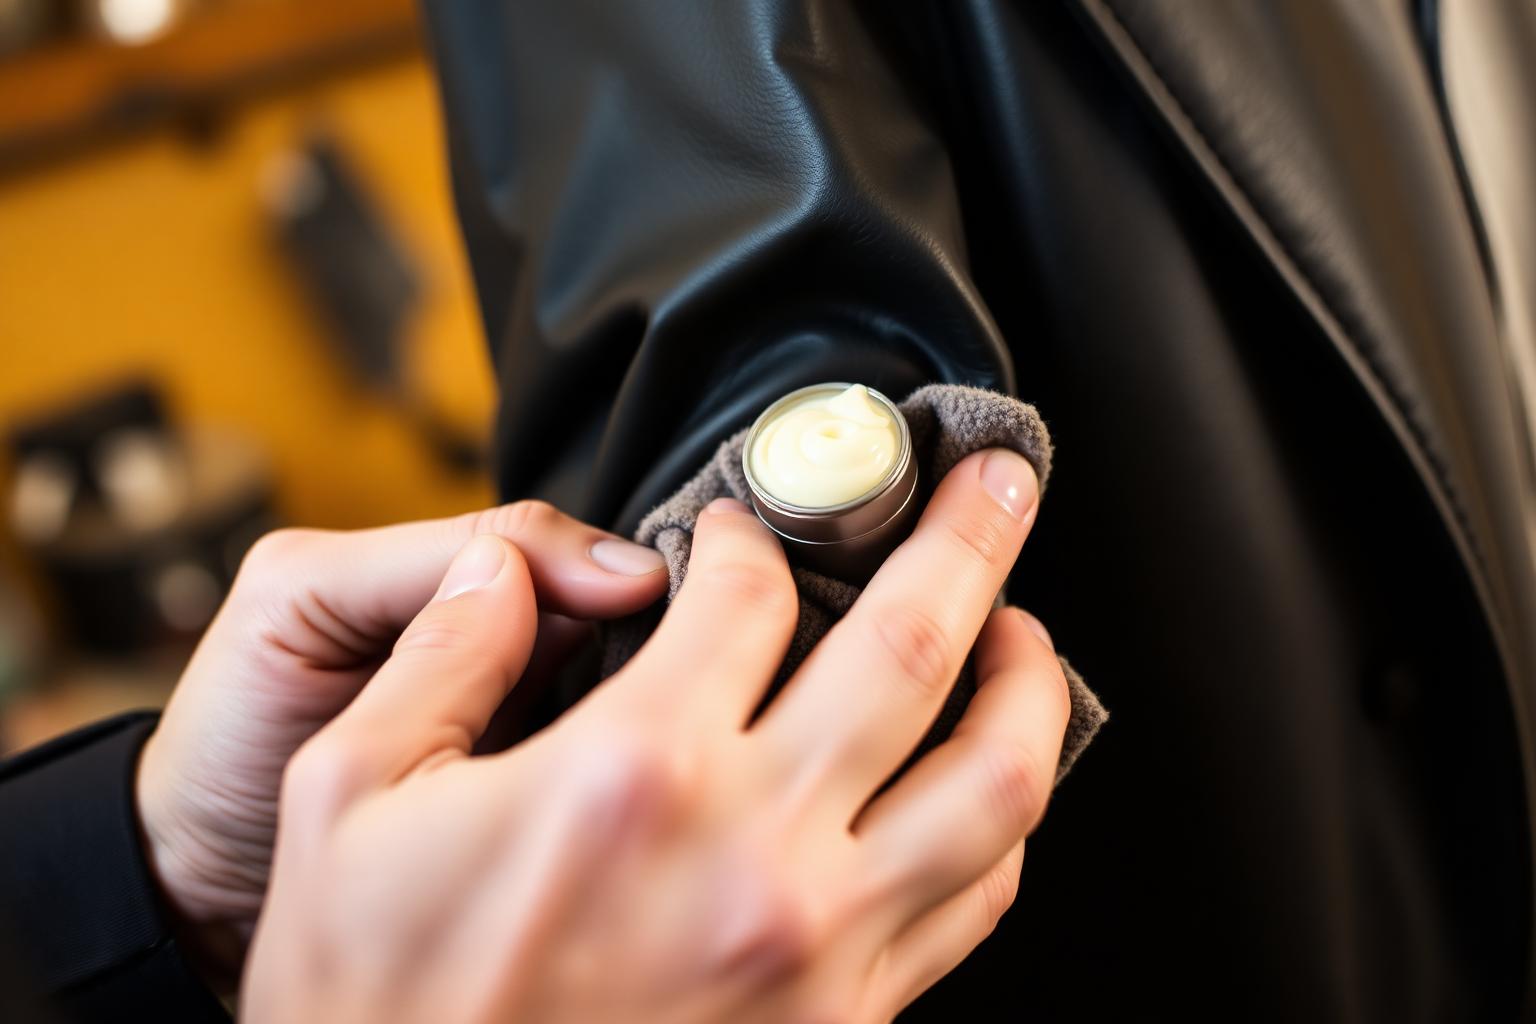
Step 4 — Condition the leather
This is the step that determines whether your leather ages gracefully or cracks prematurely. Once the leather is clean and fully dry, apply a small amount of conditioner to a clean, soft cloth. Work the conditioner into the leather using gentle circular motions, covering the entire surface evenly.
Use thin, even coats — multiple light applications are better than one heavy one. Pay extra attention to areas that flex frequently: elbows, collar folds, and the creases behind the knees on trousers. These are the stress points where leather dries out fastest.
Allow the conditioner to absorb for at least 30 minutes, preferably an hour. Then buff the entire surface with a fresh, dry microfibre cloth until it develops a soft, even sheen. The leather should feel supple and nourished, not greasy or tacky.
Do not condition suede or nubuck — these materials have a raised nap that conditioning would flatten and darken. Use a suede-specific spray protector instead.
Step 5 — Protect and waterproof
For smooth leather, a good conditioner provides a degree of water resistance. For additional protection, especially for jackets worn in variable weather, apply a leather-specific water-repellent spray. Hold the spray 15 to 20 centimetres from the surface and apply an even mist. Allow to dry completely before wearing.
For suede and nubuck, waterproofing spray is essential — these materials are far more vulnerable to water damage than smooth leather. Apply after every cleaning session and reapply every few weeks if the item is worn regularly.
For exotic skins (python, ostrich, alligator), consult the manufacturer's care instructions. These materials have unique scale structures that respond differently to standard products.
Step 6 — Proper storage
Hang jackets on wide, padded hangers — the broad shoulders distribute weight evenly and prevent the shoulder seams from stretching or developing hanger dimples. Never use wire hangers.
Store in a breathable cotton or muslin garment bag. Never use plastic — it traps moisture, prevents air circulation, and creates the warm, damp conditions in which mould thrives. If storing for an extended period, stuff sleeves with acid-free tissue paper to maintain the shape.
Keep leather away from direct sunlight, which causes fading and drying, and away from heat sources (radiators, heating vents, fireplaces), which accelerate moisture loss and can cause cracking.
In humid climates, place silica gel sachets inside the garment bag and check periodically for any signs of mould. Mould on leather can be removed with a dilute solution of rubbing alcohol and water (1:1 ratio), followed by thorough drying and reconditioning.
Emergency stain removal
Water stains: Dampen the entire surface lightly and evenly with distilled water (use a spray bottle), then allow to dry naturally. This equalises the moisture across the leather and prevents tidemark lines.
Ink stains: Dab (never rub) with a cotton pad dipped in rubbing alcohol. Test on an inconspicuous area first. Follow immediately with conditioner.
Oil and grease: Blot excess with a dry cloth, then cover the stain with cornstarch or talcum powder. Leave overnight — the powder will absorb the oil. Brush away gently the next day. Repeat if necessary.
Mould: Wipe with a 1:1 mixture of rubbing alcohol and water. Allow to dry completely in a well-ventilated area, then condition. Never store leather while damp.
For any stain you are unsure about, consult a professional leather cleaner before attempting DIY treatment. Some stains — particularly dye transfer from denim or chemical spills — require specialist treatment.
Leather worth writing about.
Discover the pieces behind the words.
Visit the Collection